The holidays have slowed my posting down some and I have a grad school application due on Monday, but I should be back to normal posting by next week.
In the mean time, here’s a kinda random something for you. When my cousin was visiting before Christmas, she was snacking on some chocolate-covered hazelnuts her sister made. (They’re from Oregon, where 99% of U.S. grown hazelnuts come from…you lucky Oregonians!) She gave me a few and they were delicious, so I decided to make my own. Here’s the recipe. You could really use this to make chocolate-covered anything if you don’t like hazelnuts. I had some leftover chocolate, so I actually covered some pretzels, too. Enjoy!
INGREDIENTS:
4 oz semi-sweet chocolate (I used a Sun Spire fair trade organic baking bar)
~1 cup hazelnuts (I didn’t measure…it may have been a little less than a cup. But I had plenty of extra chocolate.)
dash of salt (optional)
a few (3-4) drops of liquid stevia (optional)
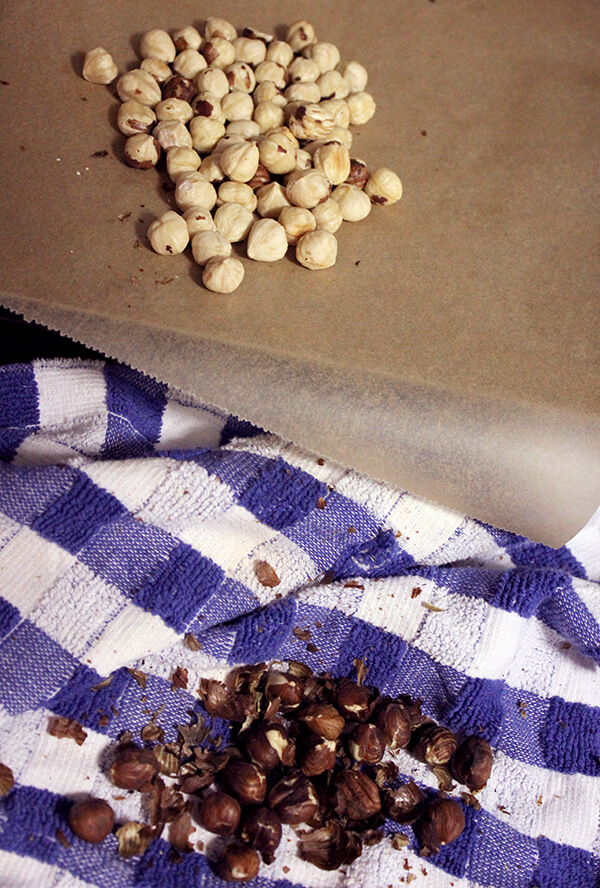
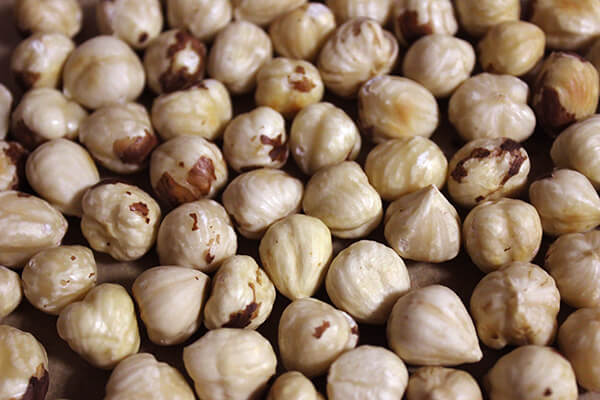
STEP 1: Roast the hazelnuts in the oven at 400˚F for about 3-5 minutes. I didn’t really time this, but I know it was no more than 5 minutes. I just kept an eye on them to make sure they weren’t burning. I pulled them out when I started to hear a little bit of crackling. While still warm, put them in a dish towel and rub them around to get the skins off. Use your fingers to rub off whatever skin still remains. It should come off easily. As you can see in my pictures, I couldn’t get all the skin off, but it doesn’t really matter.
STEP 2: Break up your chocolate and put it in a bowl (if you’re using chocolate chips, no breaking necessary ![]() ). Microwave it about 15 seconds at a time. Stir between each microwaving. Do this until the chocolate is completely melted. You could use a double broiler to melt the chocolate, but…microwaving is quicker. Once melted, you can add a dash of salt and a few drops of stevia just to enhance the taste if you want.
). Microwave it about 15 seconds at a time. Stir between each microwaving. Do this until the chocolate is completely melted. You could use a double broiler to melt the chocolate, but…microwaving is quicker. Once melted, you can add a dash of salt and a few drops of stevia just to enhance the taste if you want.
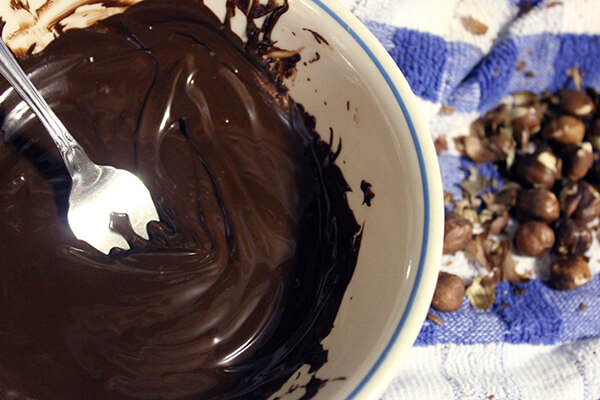
STEP 3: Add the hazelnuts to the chocolate and stir them around until completely coated.

STEP 4: use a fork to place the coated hazelnuts on parchment paper on a cookie sheet.
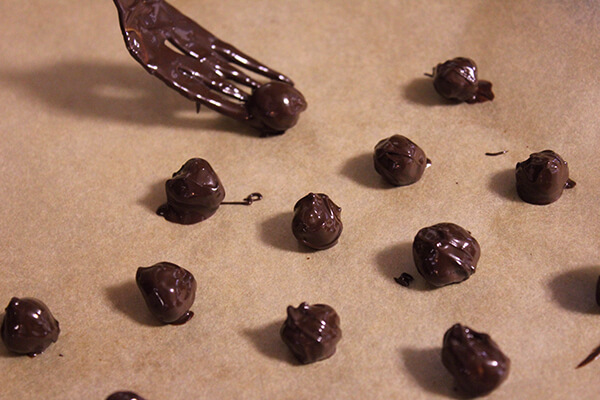
STEP 5: Refrigerate the hazelnuts until the chocolate has hardened. Enjoy! Yummy yummy!



4 Comments
Yum yum yum! I’m gonna try this with other nuts
Flouncesandhubbub.blogspot.com
oh my goodness, is it bad that i want to eat this for breakfast??? thanks for the great recipe!
yum! Now I’m hungry
This looks amazing! Off to the kitchen to make breakfast now