
There are tutorials all over the internet for DIY screen printing with this method or a similar one, so this is really nothing original or innovative. I did really like the idea of doing a pattern, though, and I also did a few steps a little differently than other tutorials I’ve seen. So here’s a step-by-step of what I did and also a link to the pattern I used. Enjoy!
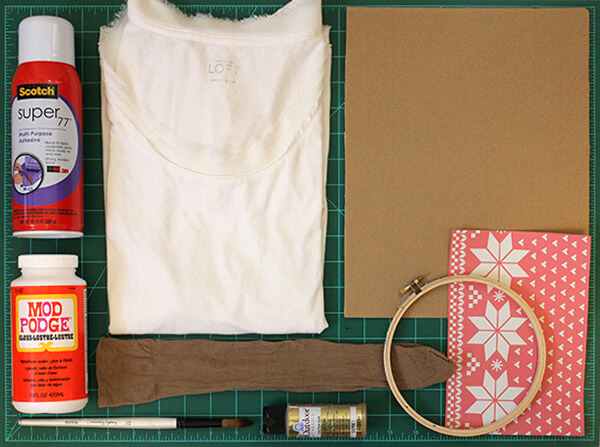 Supplies:
t-shirt, any color will work. I used ivory, but a bright color or even black would be fun, too.
cardboard , the width of the t-shirt or as close to that width as you can find.
a pattern to transfer to the shirt. I used a Nordic sweater pattern that you can download for free here. I wanted to make a shirt that was kind of Christmas-y, but not something I could ONLY wear at Christmas time. A Nordic sweater-inspired print is perfect.
embroidery hoop
old tights/pantyhose or a similar fabric.
thin tip sharpie or similar pen/marker. I personally used a micron pen.
Mod Podge, whether it’s glossy or matte doesn’t matter.
paintbrush(es), I used a small one for applying Mod Podge so I could get thin lines and little details. A bigger brush is better for the paint application. A paint or makeup sponge would work well for the paint application, too.
paint, I used gold, but as I said for the shirt, a color would be really cool, too.
spray adhesive, optional, but very helpful.
Instructions:
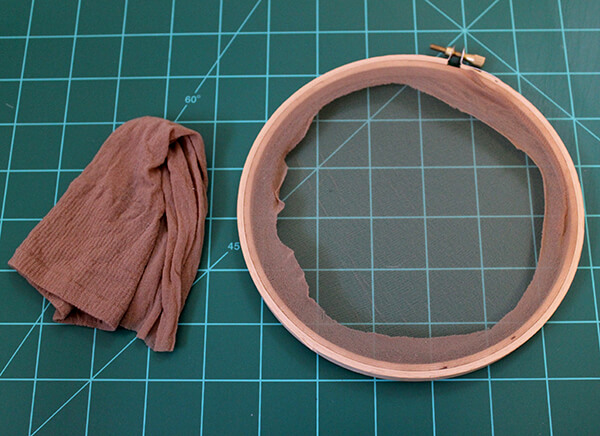
1. Wrap the pantyhose around the inner embroidery hoop. Make sure the fabric is taut, but be careful not to snag it. Slip on the outer hoop and tighten it. cut off the extra hose so it looks like the image below.
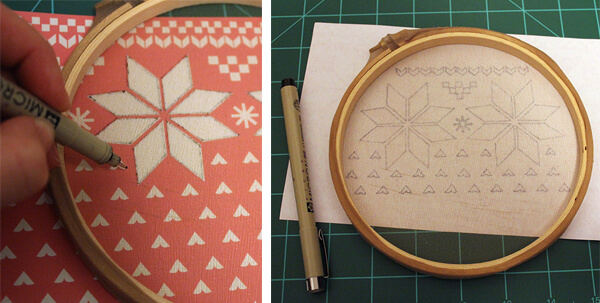
2. Lay your pattern under the hoop and position it where you want to draw it onto the fabric. Hold the hoop in place and carefully trace the image.
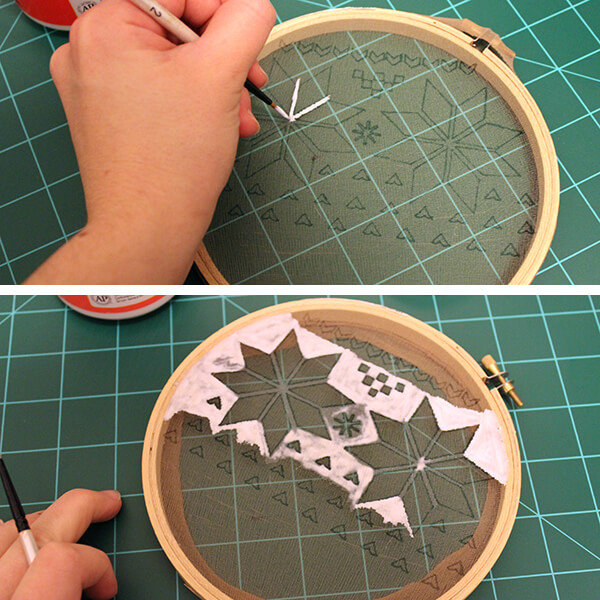
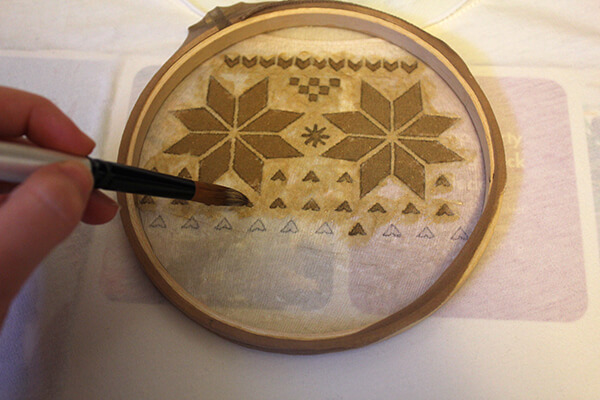
3. Carefully apply Mod Podge to the negative space. So put Mod Podge everywhere where you DO NOT want paint to seep through. With this particular pattern, a thin paintbrush comes in handy since there are lots of tiny spaces and thin lines. Let the Mod Podge dry completely.
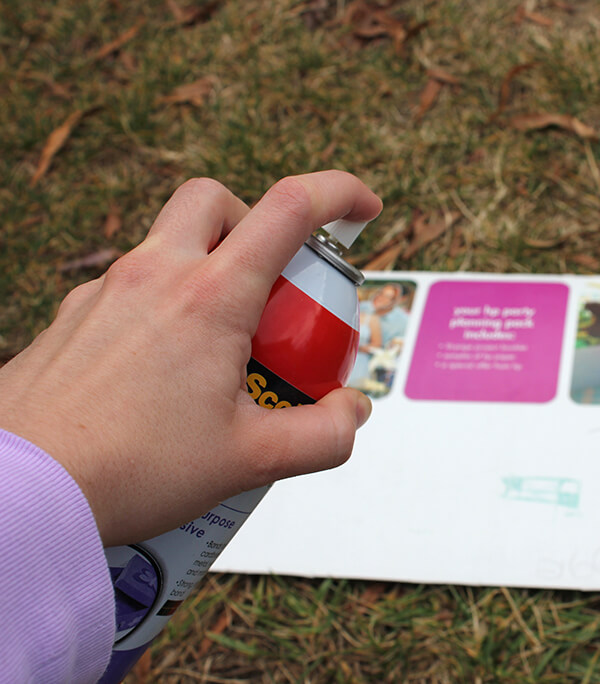
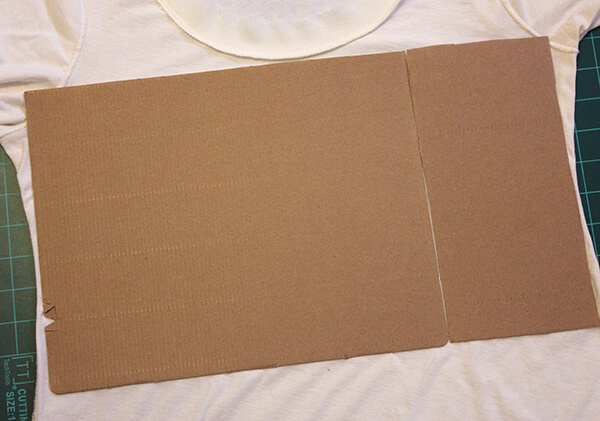
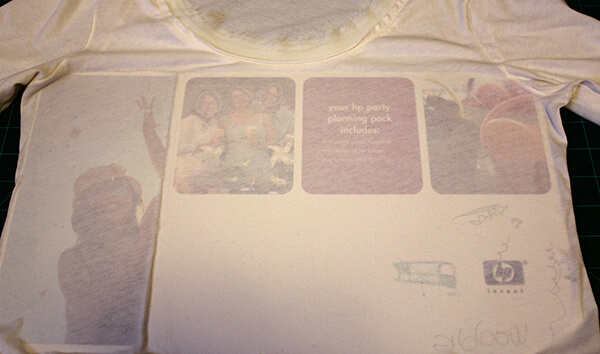
4. Take your cardboard to a well ventilated area and apply spray adhesive to one side (my cardboard had a slick side, so I applied the adhesive to that side because I figured it would be easier to peel the shirt off of it). Turn your t-shirt inside-out and spread it flat, front facing up. Press the sticky side of the cardboard onto your shirt where you’d like the pattern to be (front top). Give the glue a few minutes to dry, then carefully turn the shirt right-side out. The shirt probably will peel off of the cardboard some while you are doing this, but that’s fine. Just adjust it and smooth it back out once you finish turning it right-side out. Now you have a nice smooth surface to transfer your pattern to. If you want, you can skip the spray adhesive and just lay the cardboard inside the shirt, but the spray adhesive keeps the shirt from bunching up or shifting while you work.
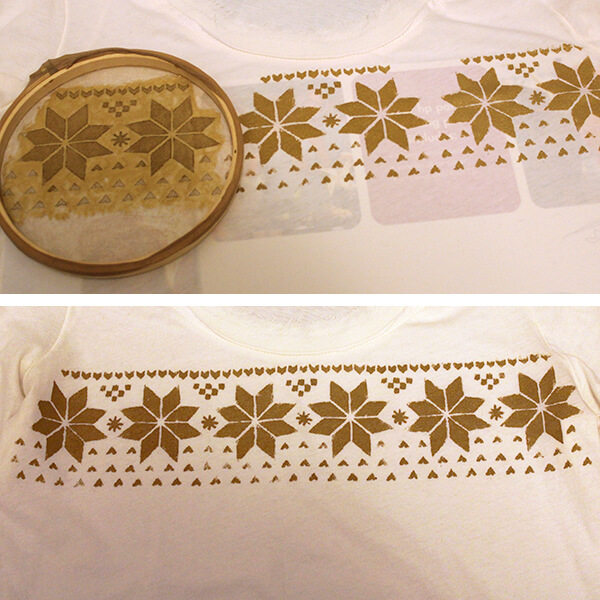
5. Line up the embroidery hoop where you’d like the pattern to be on the shirt. If you are using the pattern I used, start in the middle. (I tested my pattern on a scrap of paper first just to make sure it worked well.) Dab paint all over the pattern until you’ve covered it all. Carefully pull the hoop off the shirt. Let this first transfer dry. I rinsed off my paintbrush and hoop in between applications, but be VERY careful if you rinse off your hoop. Mod Podge isn’t completely water resistant, so it may make some of the Mod Podge sticky or wash off. You probably don’t really need to rinse the paint off it, anyway. Once the first application dries, line up the pattern beside it and paint again. Do this until the pattern goes the full width of the shirt. This took three applications for me – the first in the middle, then one to the left and one to the right. I also had to go in an fill in a few gaps (see images below).
6. Peel the shirt off of the cardboard and you’re done!


2 Comments
WOW!!! This is the best explaination of how to screen print ive seen and ive been looking A LOT! Thanks !
I will be trying this out ASAP
Ps The Pictures really help
Thanks! Good luck with your project!