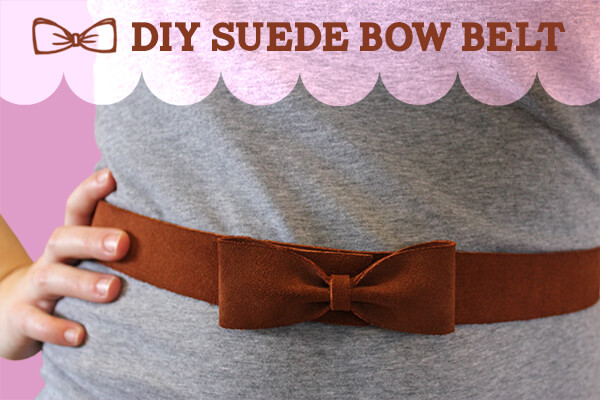
I saw a bow belt similar to this once, and I’ve been resolved to make one ever since. I really like the way it turned out, and I think it may be one of my favorite DIYs to date. Here’s how you can make your own!
SUPPLIES:
strip of suede 1 1/2″ wide x 8″ long
strip of suede 1 1/4″ wide x measurement of your waist plus 2 inches long
strip of suede 1/4″ wide x 12″ long (you’re going to cut off most of this length so it doesn’t have to be exact. It’s just nice to have room to work with)
note: I bought a 1 1/2″ x 42″ strip of suede at Hobby Lobby and it was enough to create all the strips above. I didn’t have any room for error, though, as it was JUST enough.)
exacto/utility knife
sharp scissors
snaps + attacher (find at a craft or sewing store…or yard sale)
tacky glue
velcro
INSTRUCTIONS:
1. Cut your suede into the strip sizes listed above. Be sure to carefully measure your waist (don’t pull the tape measure to tight unless you want the belt to suffocate you). The piece of suede that wraps around your waist should be 2 inches longer than your measurement so you’ll be able to overlap and snap it.

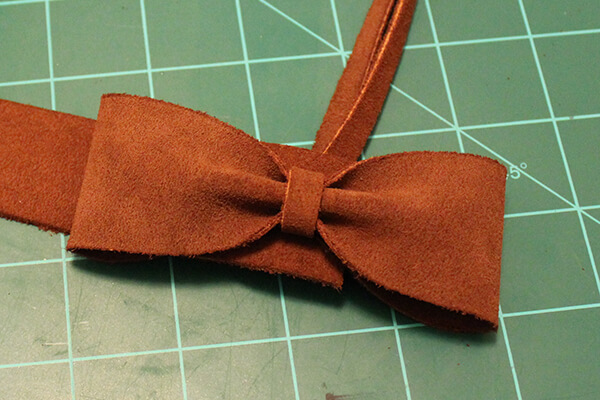
2. Cut a slit on one end of the long strip (the piece that goes around your waist) with an exact/utility knife. Be careful! The suede is thick and it may be difficult. I just went over the same spot with the knife several times until it cut all the way through. The slit should be large enough so both ends of you skinny strip of suede will fit through it. Pull both ends of the skinny strip of suede through the hole creating a loop (see image below).
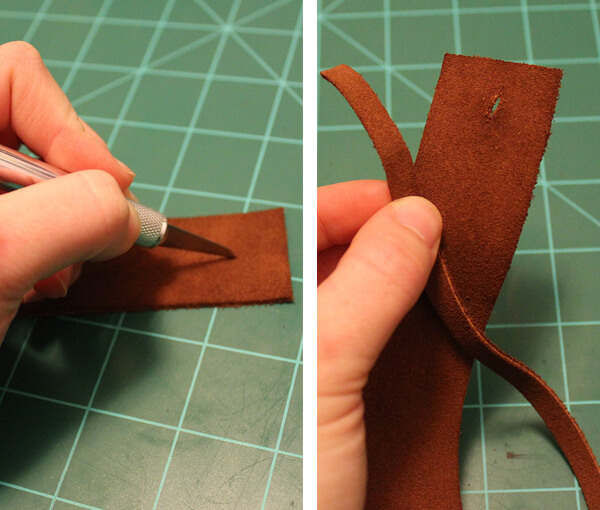
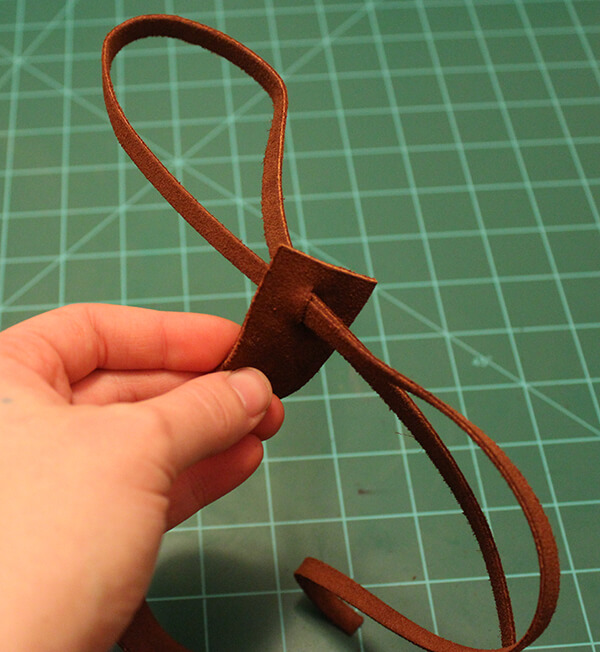
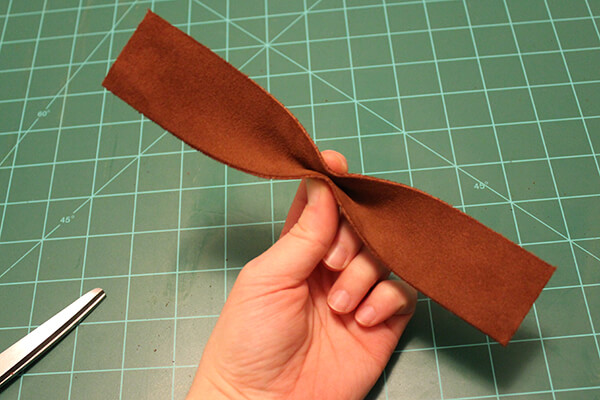
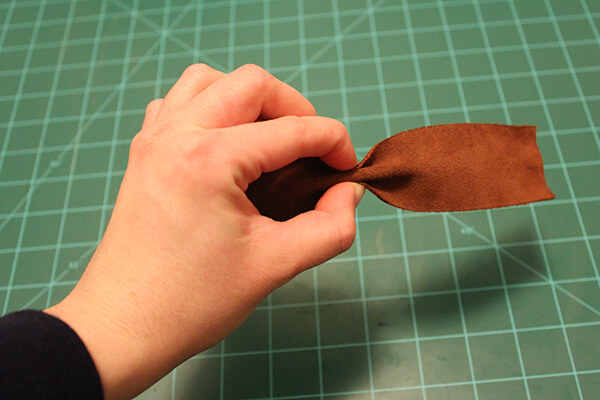
3. Grab your 8 inch piece of suede. This will be the bow. Pinch it in half at the center. Now pinch the edges back upward creating an accordion fold (see image below).
4. Dap a bit of tacky glue between the folds if you want to be extra sure the shape holds. While holding the folds you created to keep it from coming apart, slip the bow through the loop you created in step 2 and pull the loose ends of the loop to tighten it around the bow. Once that loop is pulled tight, your folds should hold securely.
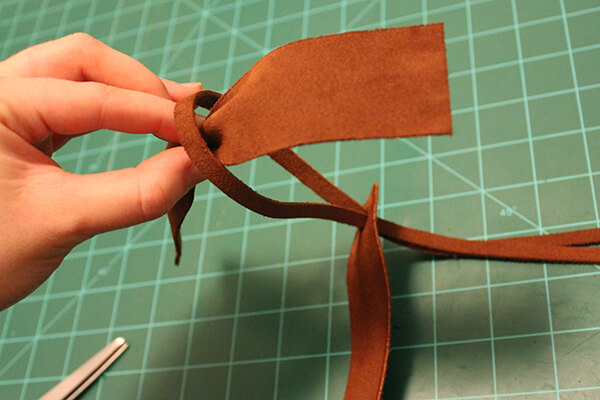
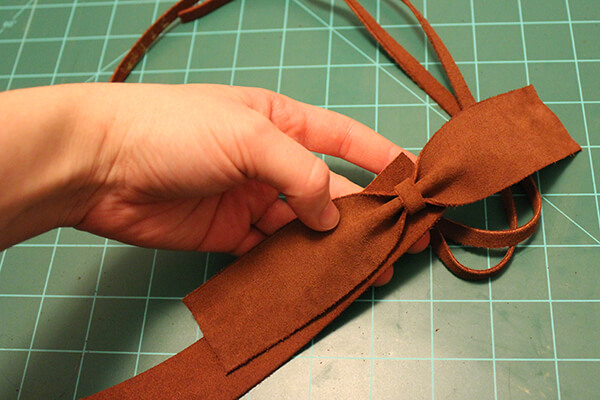
5. taper the edges of the strip you’re making the bow with. Dab some glue on the tapered ends. Fold them under and glue them to the belt strip. You now have a pretty little bow!
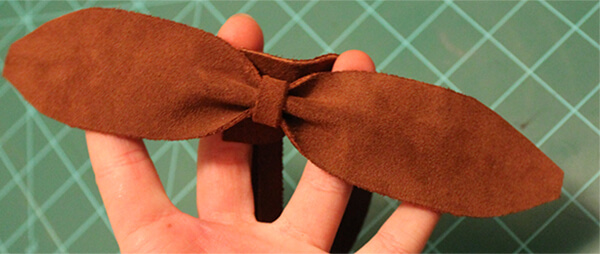

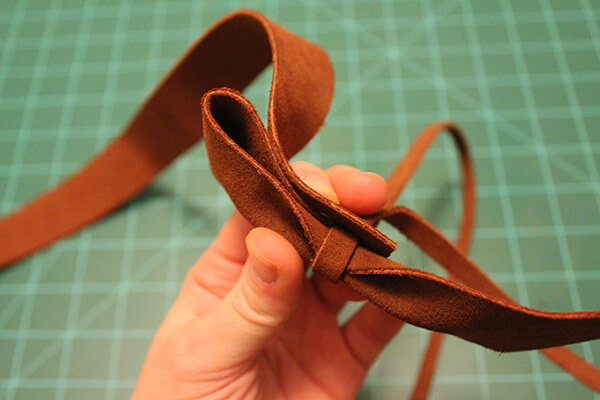
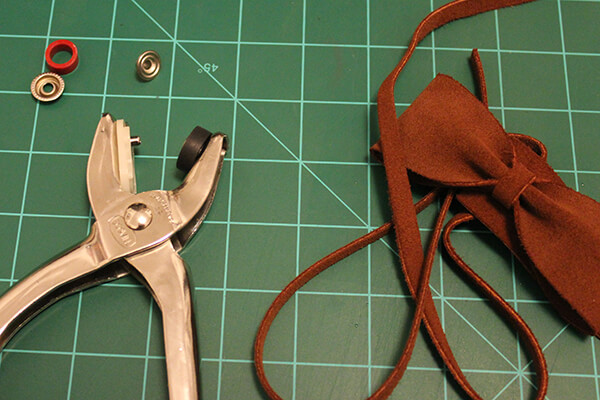
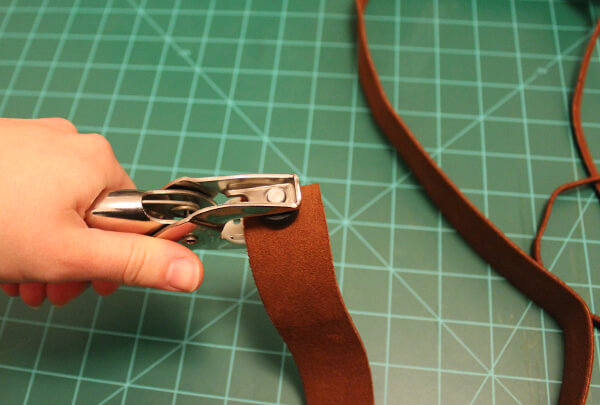
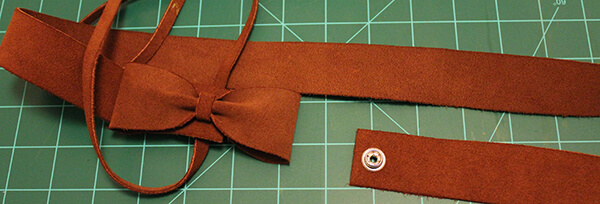
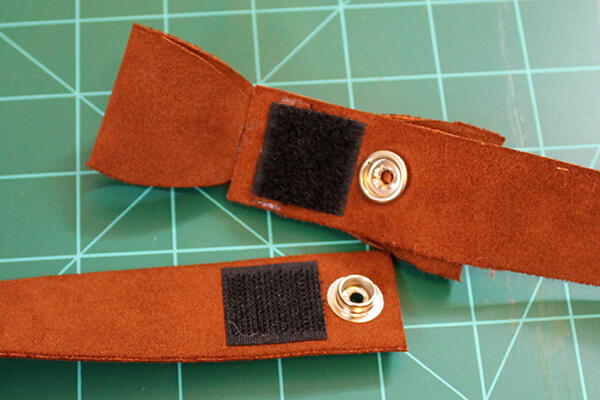
6. Now comes the kinda tricky part – attaching the snap. If you get a tool like this, it should have instructions with it on how to attach snaps, and that’s really gong to do a better job explaining it than I could here. It requires a little muscle to get the tool to punch through the thick suede. Make sure the pieces of the snap that attach into one another are facing the correct direction when you attach them. So on the bow end, the snappy part should face INWARD and on the other end, the snappy part should be facing OUTWARD. See below pictures to see where I placed the snaps.
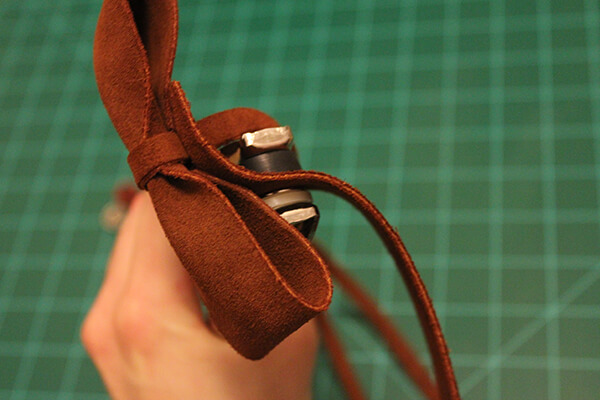
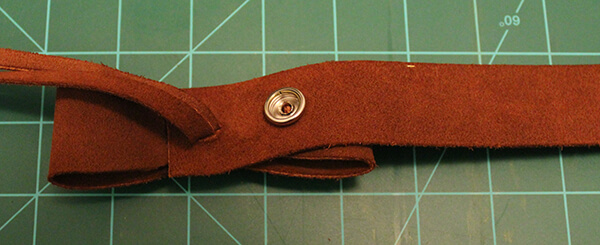
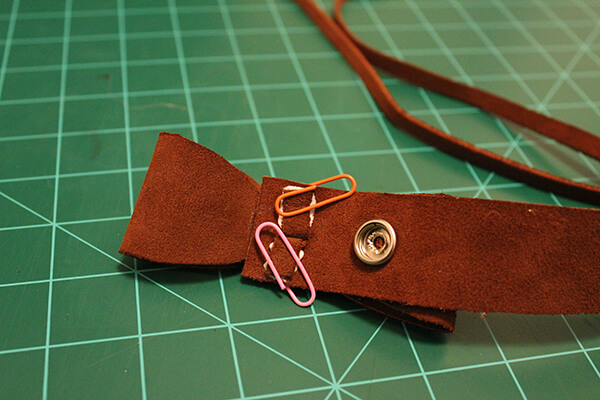
7. Trim the loose ends of the suede strip that you made the loop with and glue them down. I used paperclips to hold them in place until the glue dried.
8. Lastly, since the snap is little far back on the bow end, I added some velcro to hold the bow down when I wear it. These velcro strips already had adhesive on them, but tacky glue would work, too. This is actually really strong velcro, so I probably could have just used it instead of the snap. So if you don’t feel like attempting the snaps, you could easily just use some strong velcro.
Enjoy your new belt! I really love it and I can’t wait to wear it! Please let me know if you have any questions of if anything needs some clarification. ![]()




2 Comments
Oooh I love that.
I need to get me some suede first.
It’s funny how you thought to do a bow post because I did a bow tutorial today as well haha.
xx Karen.
I just went and looked at your post. Cute! I like the color you chose.